Annette here for the Scrapbook Blessings Club to share with you Monday's Project "Dies".
Firstly: "Tip of the Day" use sticky tape to hold both nestling dies in position ~ I place sticky tape on all 4 corners of the dies to ensure no movement of the Die when cutting.
Now, on to today's Project:
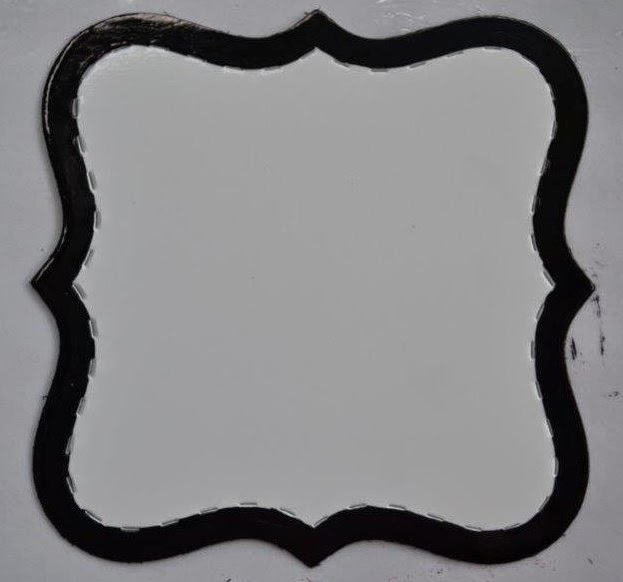
- I am using today one of my favourite Dies ~ Its my Sizzix Labels and Stitches Die.Whenever I want to have a contrasting edge around my labels I use these particular Dies as they have the one for cutting and one for stitching marks.
- I use these stitching marks as a guide to colour with my Copics and also Glitter Glue.
- Using the Cutting die and the Stitching Die I place the cutting Die on the outer on my Cardstock and the Stitching Die on the inner part and I then sticky tape down and hold in the position where I want my Label cut and where I want my stitching to sit.
- I then Place the Die in my Sizzix Die Machine placing the Die face up between my cutting plates. I also place a Shim on top for a better cut. (My Shim is a piece of cardstock laminated in my hot laminating machine ~ I find by using a laminated sheet of paper or cardstock the Shim actually lasts a lot longer).
- I run this Die through my Sizzix several times to make sure the stitching has indented properly and the Die is cut to precision.
- Now I have my Label ready to work on.
- Since I have a guide line with the Stitching I use this to now colour in with my Black Copic.
- When I have coloured the edging area with my Black Copic, I then use my Silver Glitter Glue over the Copic coloured section.
- Now my label in complete and ready to use for my Card Project.
- My finished Card which is a Joy Card :-
Thank you for visiting my Die Tutorial today and I hope you have enjoyed this project.
For any questions you may like to ask, please leave in the comments section and I will endeavour to respond as soon as possible.
I hope you can also join us at our Scrapbook Blessings Club and be blessed with this Tutorial.
Annette ~ Scrapbook Blessings Club Team Designer
As always, any comments are very much appreciated.
Thank you for stopping by and have a wonderful day.


No comments:
Post a Comment